Week 2 - Prototype 2

Aims of the Week
Further tests on the individual components
Test the motors with three-dimensional movements
Development on the solar circuit by tests to find voltages
Tests sensors and practice displaying data on LCD
Hamza's Tasks and Updates
This week, I did a further test on the solar circuit to find the different voltages from each solar panel depending on the light intensity (using my phone torch), which showed the min, max, and mean voltage. I then calculated the output voltage when each solar panel was connected in series or parallel.
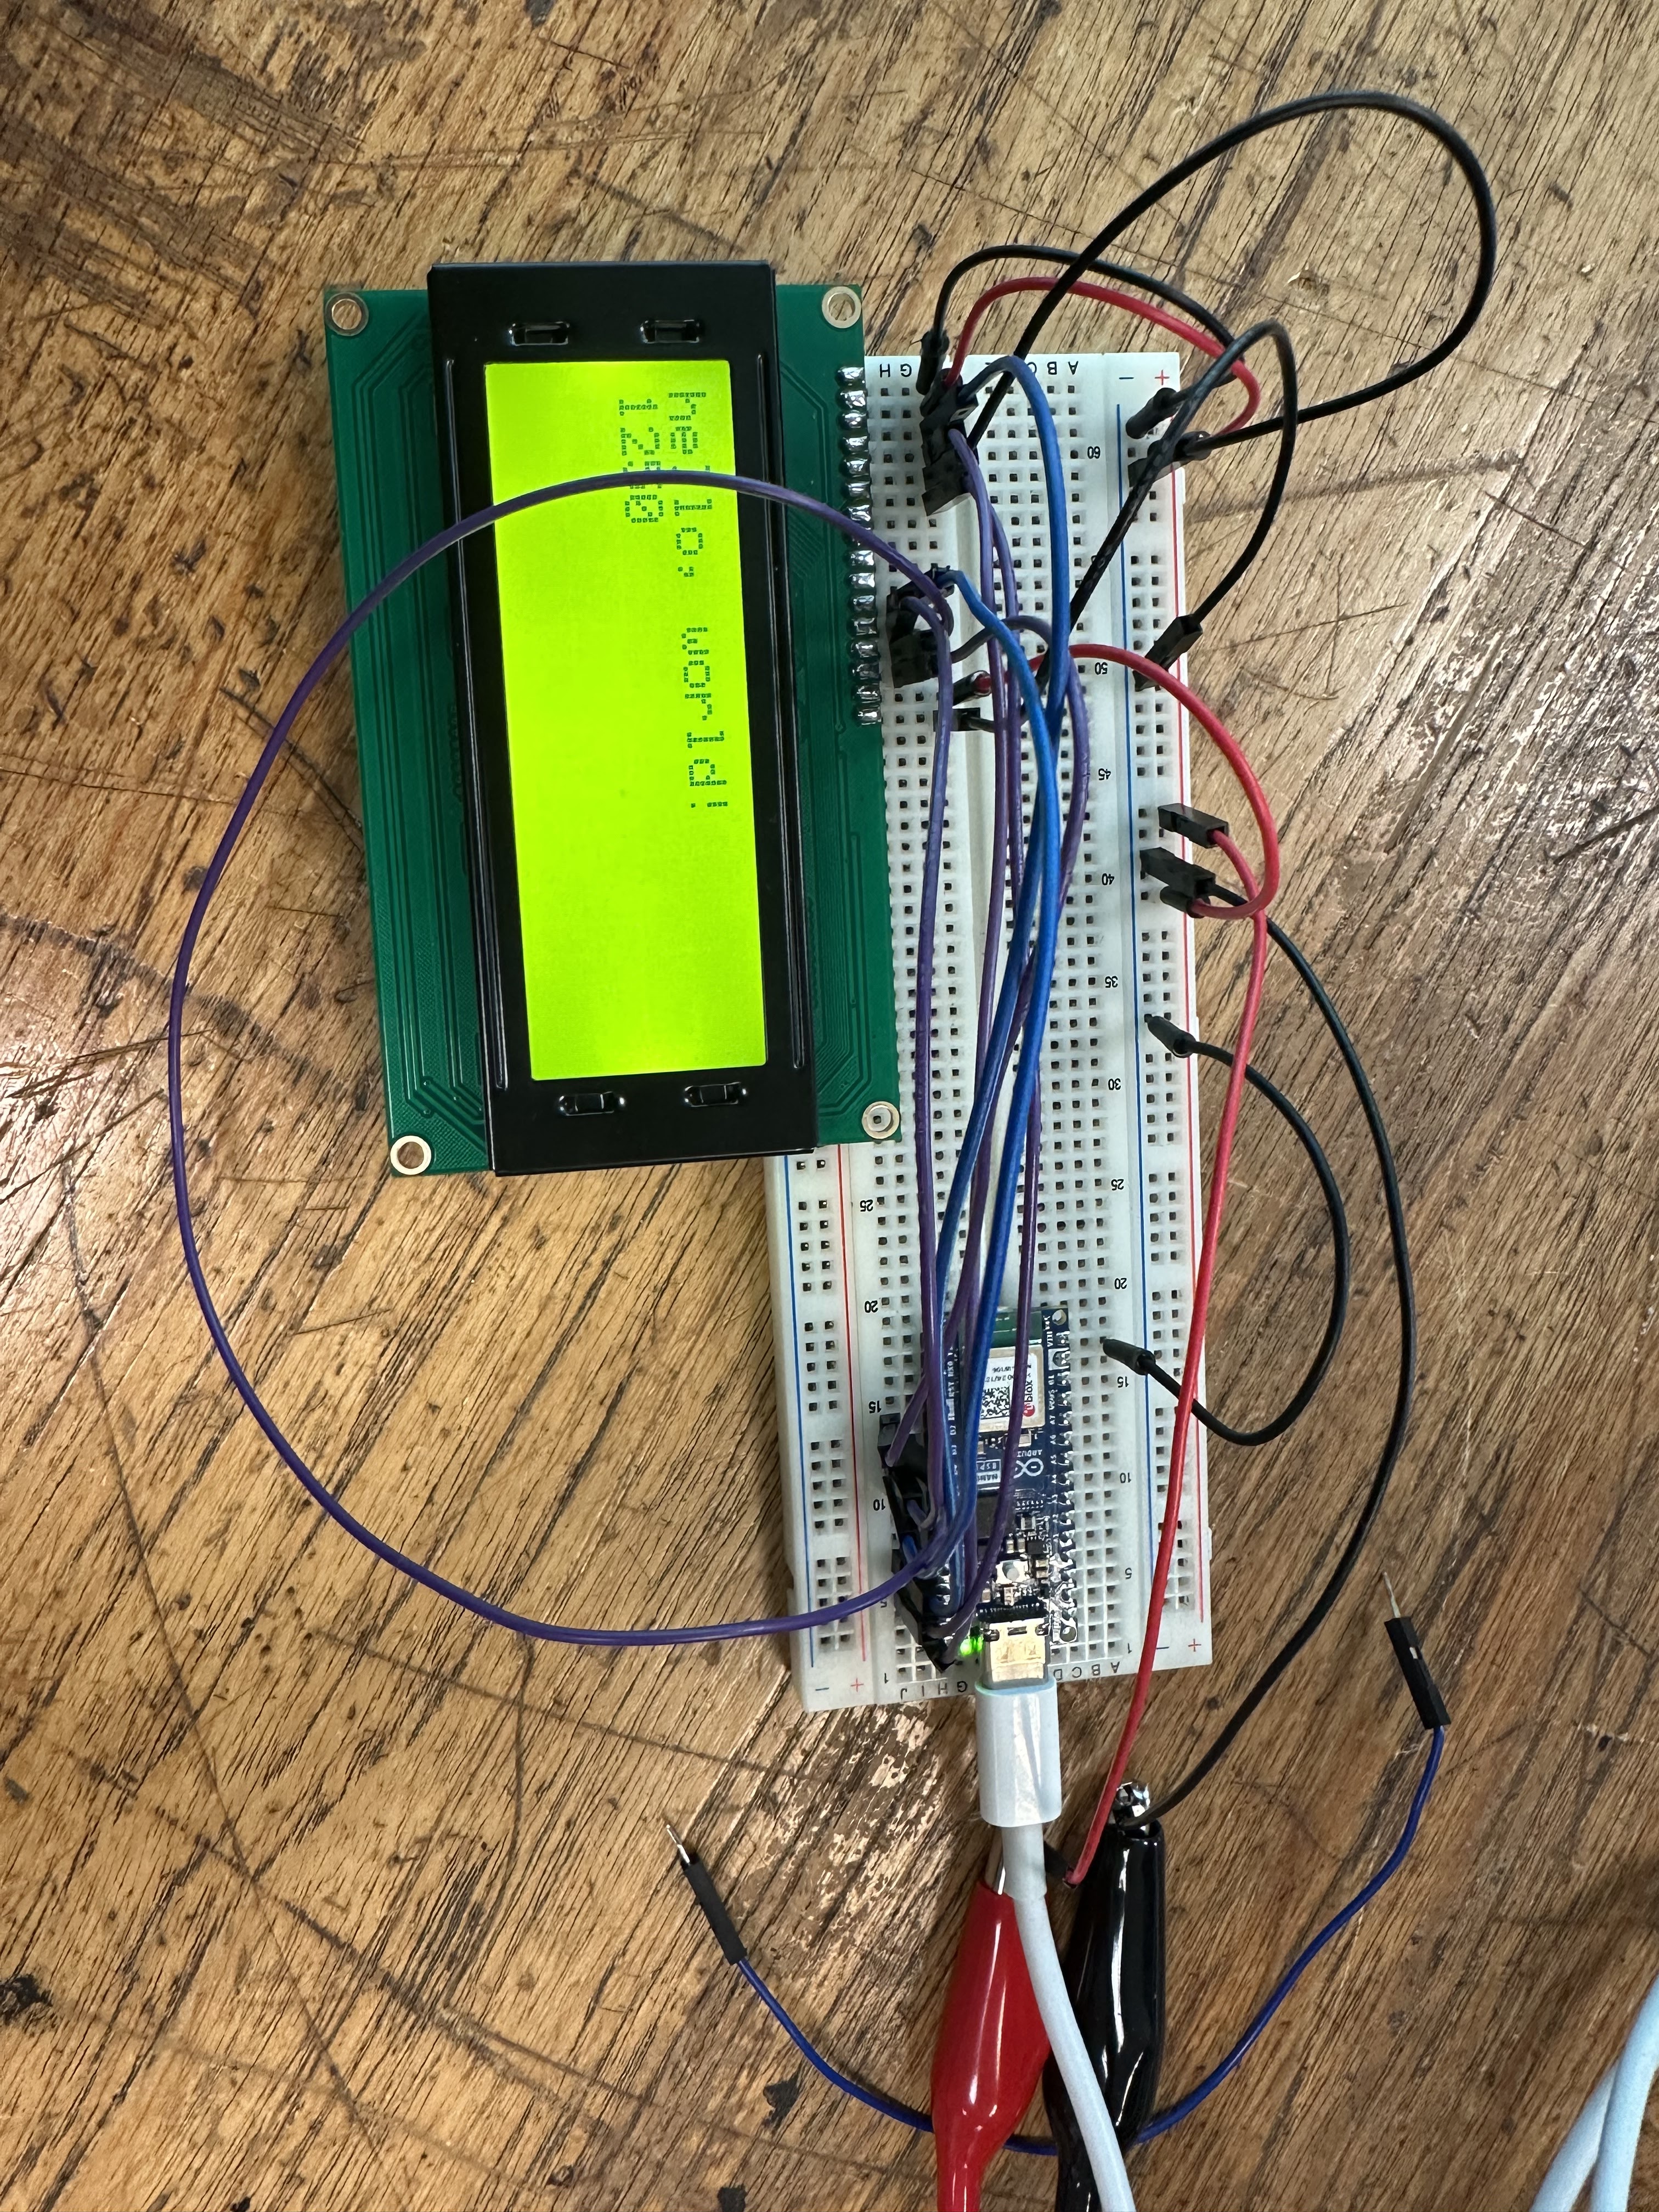
For the rest of this session, I aided my teammates in testing the sensors and LCD to try to get them operational using different methods and circuit combinations. This saw the operation of the Sensors and using the main 16 ports of the LCD, which we recognised was too complex. This led us to order an i2C to allow better connection and Arduino UNO.
This week I also measured the components and started designing the box which would be laser with holes for each of the components.
Abdulla's Tasks and Updates
My task in the lab was to test the light sensor, motor, and temperature and humidity sensor.
By the end of the session, I was only able to successfully test the motor component.
Although the code for the other components was well-written, I could not find any
meaningful readings or output on the display for the light sensor, temperature, or humidity.
Despite ensuring that the system was properly connected and programmed, the display did
not show the expected values, making it difficult to verify their functionality.
Towards the end of the lab, I discovered that the Arduino board being used was a Nano type,
which operates with a VCC of 3.3V. This could potentially be an issue for the sensors, as theymight require a higher voltage to function correctly. After discussing the situation with
Hamza, we decided to use an external battery to provide the necessary power for the
components, ensuring they receive the appropriate voltage for proper operation.
Caesar's Tasks and Updates
This week I made up progress from the lab I missed last week from testing each of the individual sensors by loading up their libraries into the Ardiuno nano.
We managed to get the DHT222 to work on the Arduino. However, I wasn’t able to connect and use the LTR390. After further research and testing, I realised that the hardware for the sensor was not compatible with the Nano. After discussion, we decided to move on to testing the LCD. As it was a 4x20 LCD, it took a while to understand how it would connect and display data. However, after some connections, we were able to make it operational and show the given data.
This week's outcomes
Have a working LCD
Have a working solar circuit
Have an understanding on the motor movement
Place order for i2C and Arduino Uno for better compatibility
Home Tasks
- Hamza: Further LCD tests, devloping circuit diagrams, new 3D designs, and starting on the poster
- Abdulla: Designing a full circuit diagram for the LDR and motor circuit & motor research
- Caesar: Further sensor tests and researhcing how it can be displayed on the LCD


Comments
Post a Comment